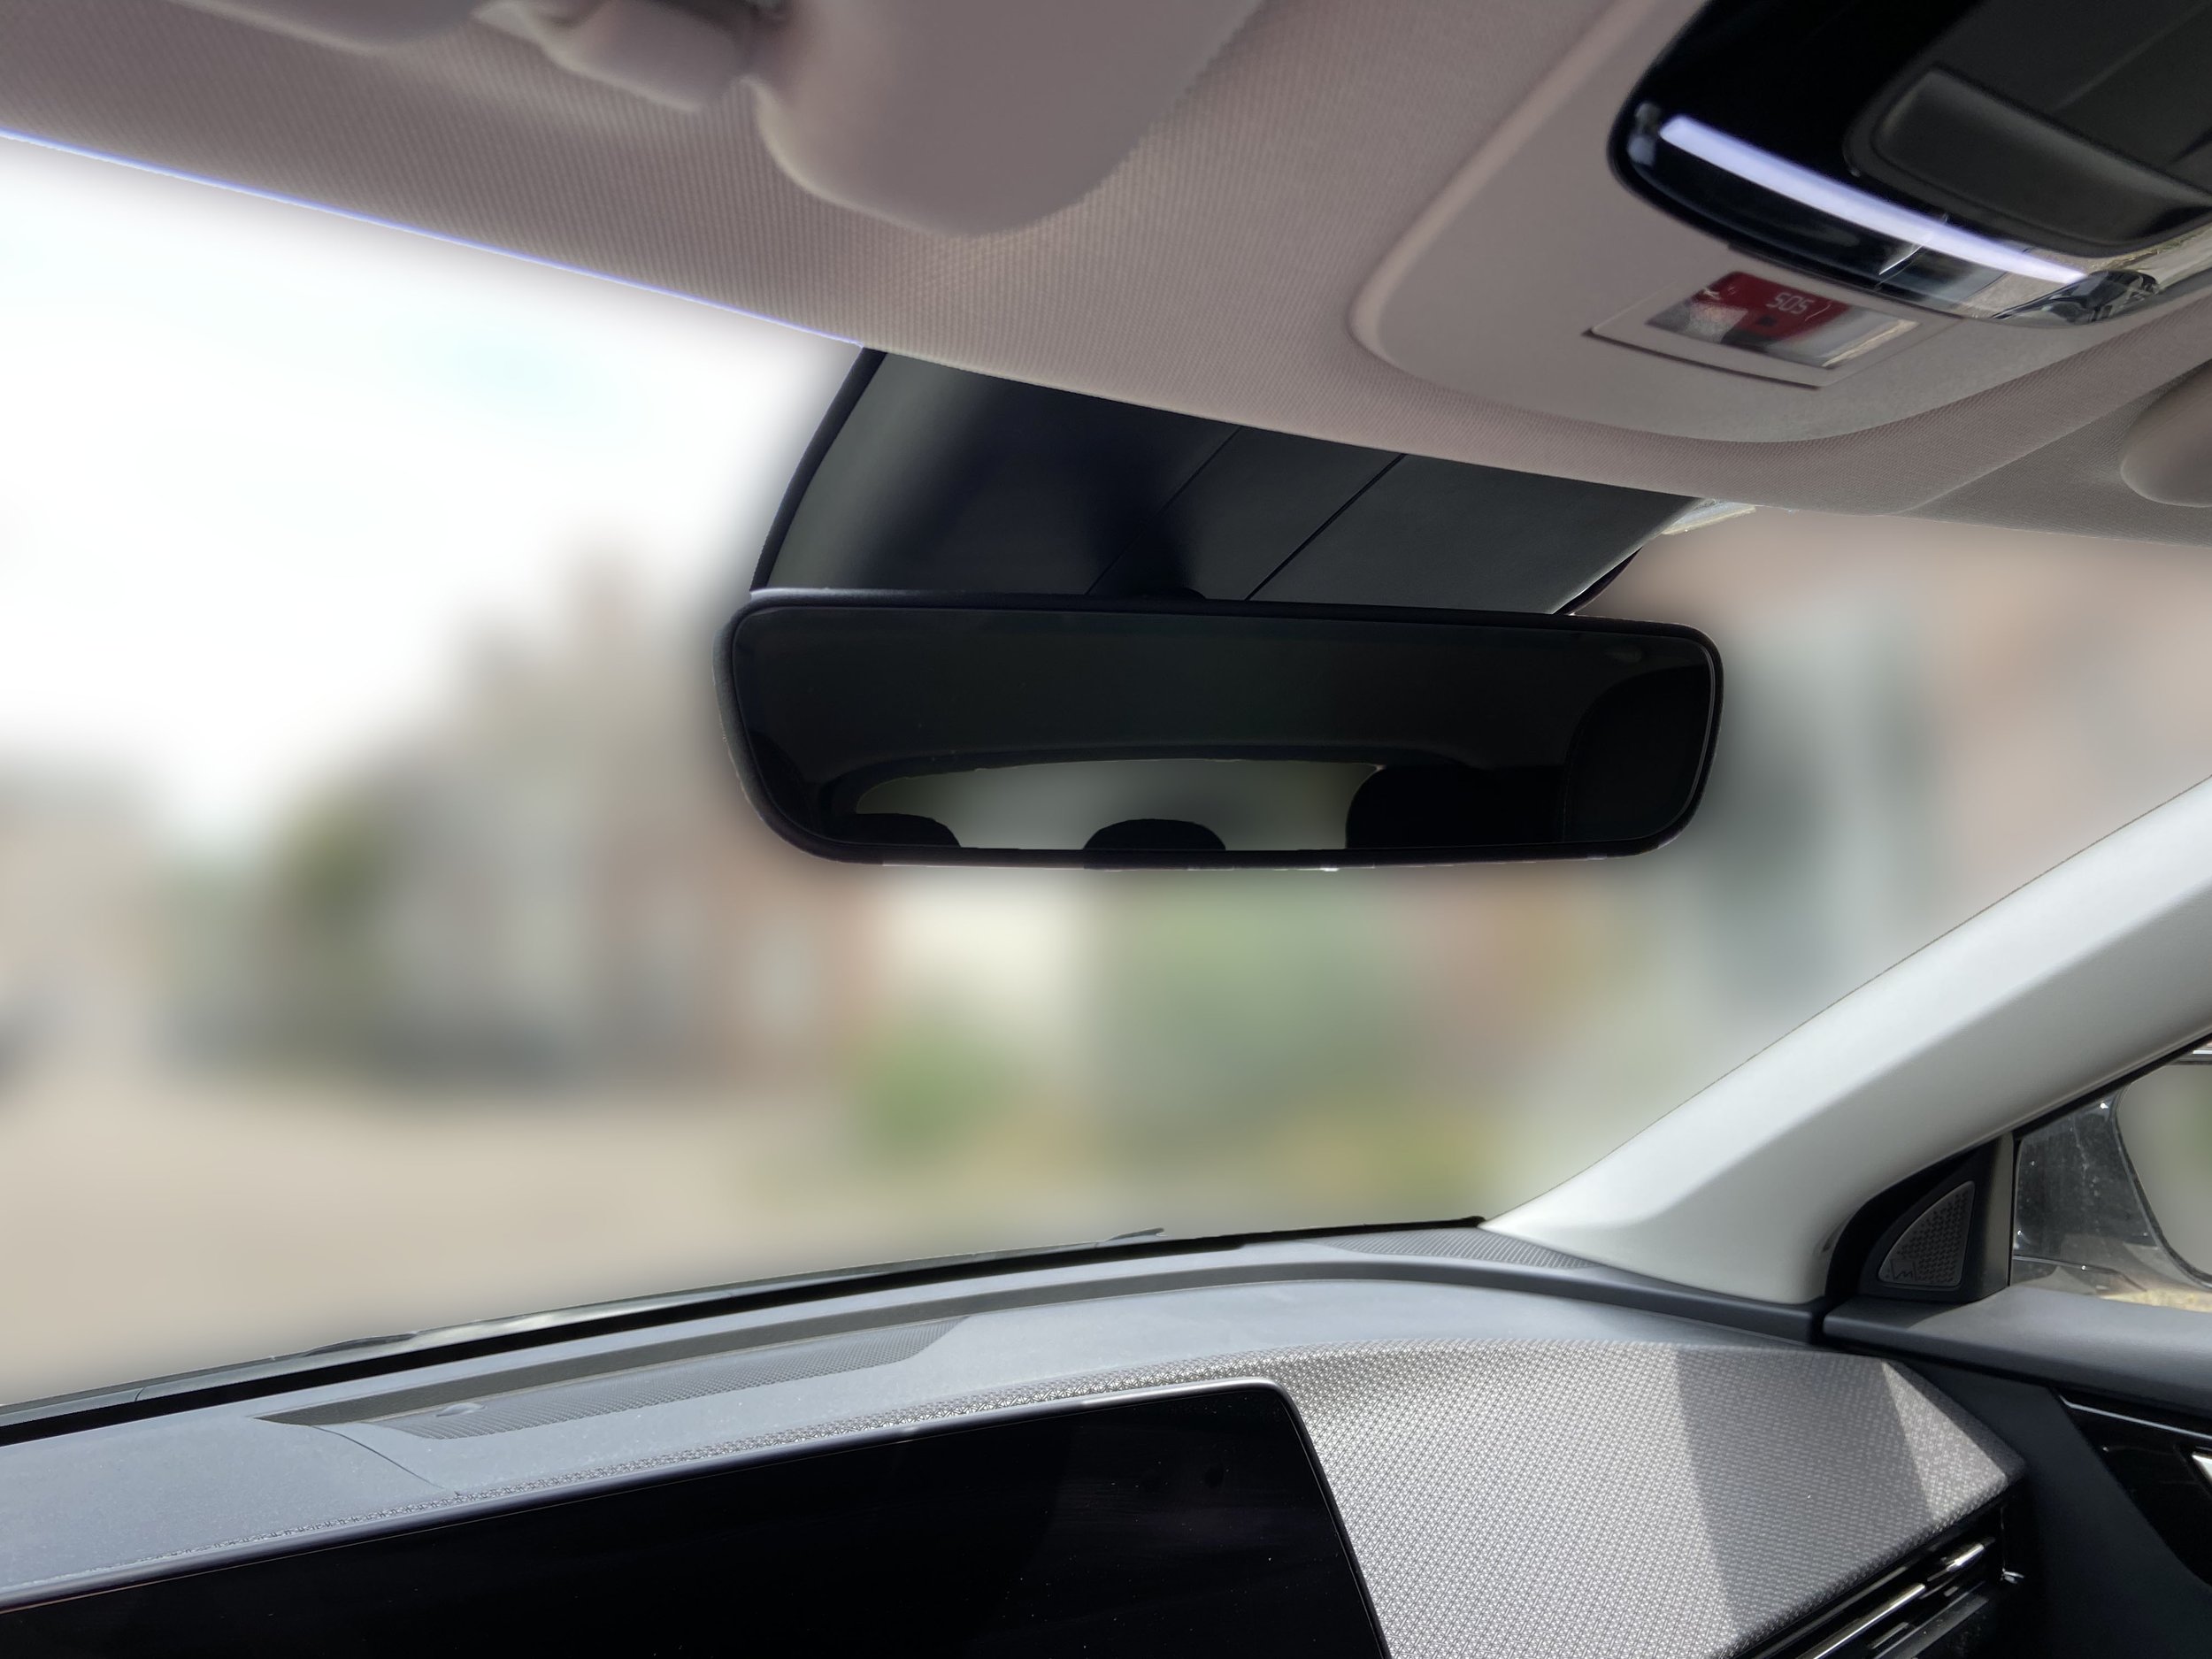
I recently decided to get a dashcam for my new Kia EV6. Previously I decided against a dashcam mainly because of the hassle of hiding the cables. I’m not a fan of seeing power/USB cables running through the car. That was until I ran into a Dongar power adapter that runs of the rearview mirror power. This means that I don’t have to bother with running cables through and behind the interior of the car.
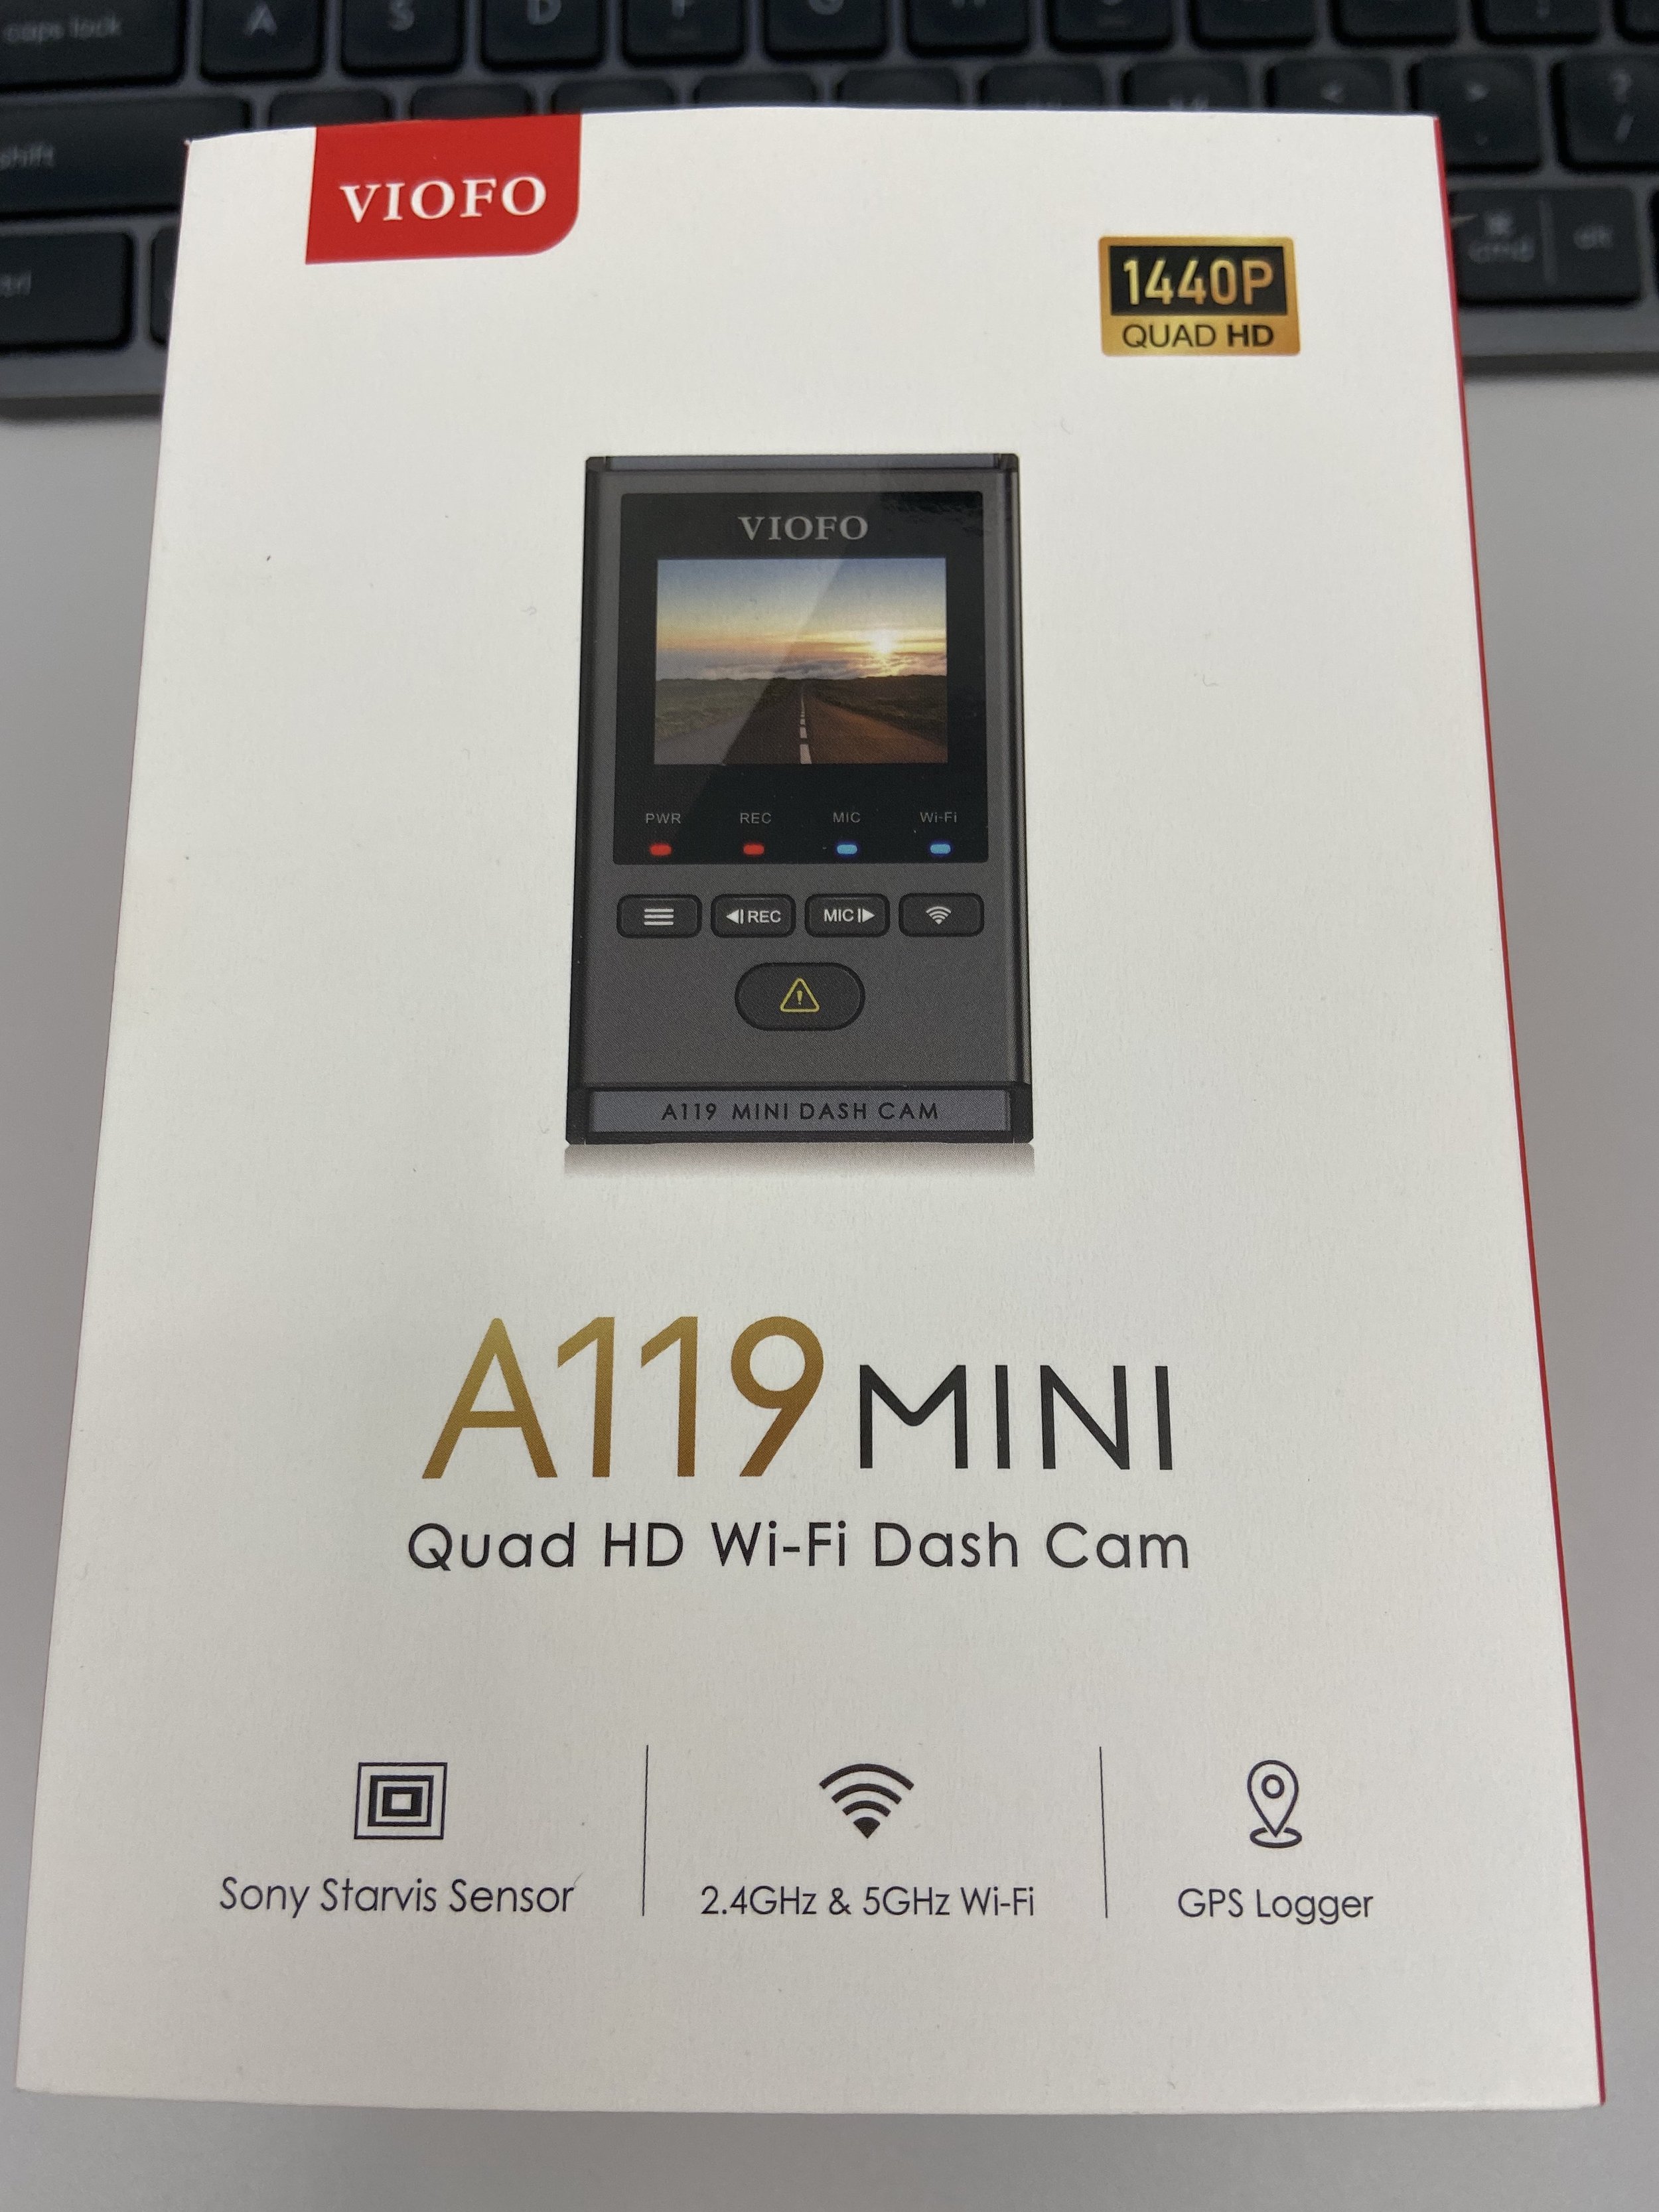
So having found a nice alternative of routing cables I decied to do some research on which dashcam. After several hours of researching I bought the Viofo A119 Mini Dashcam. My reasons of selecting this one are;
WiFi support
1440p (4k is nice, but you need a lot of storage)
Numerous parking modes incl. timelapse, motion detection (visually, and through a motion sensor)
Relative small
Decent reviews
The dashcam arrive the next day, and the Dongar adapter was still on it’s way (ordered July 8th). This meant waiting… Something I’m not really good at 😃. So I decides to give it a try without the Dongar adapter, and use the included hardwire kit (which offers recording of events when the car is powered down).
First; research in how to dismantle the interior.
I was not able to find any youtube video’s on the EV6, but I found a video on routing cables through a Kia Forte.
This video mentions a connector at the near top of the A-pillar that needs to be detached. Problem is that I wasn’t able to figure that out. Either I’m missing the right tools, of my fingers are too thick.
An image I found also describes how to detach the A-pillar cover.
After 20 minutes of frustration I was ready to give up. I had to wait for the Dongar adapter… Until I remembered that I had a nylon interior disassembly kit laying around somewhere.
Not that this helped in detaching the A-pillar covering though 🙁…
When reassembling the interior I saw that I could see the windshield through the bottom of the demi-detached covering. This was below the airbag and some connectors that are placed behind the covering. I don’t have an image of it, but the following image should give an idea on the approximate location.
Don’t feed it throw the airflow vents. When the cover is detached on the top you can see through and see the windshield.
Being able to see the windshield/front window It gave me the idea to feed the dashcam powercable through here. This went fine until the ferrite bead in the cable had to pass the plastic covering on the windshield side. Even after trying to bend the A-pillar cover with the nylon tool (second tool from the left in the image above) I wasn’t able to push the cable through.
If I can’t push it through I could try to pull it through with a piece of metal wiring. This seemed to do the trick. I fed a wire from front to back (yellow arrow), attached the power cable and pulled it through.
The red arrow is the direction the cable runs eventually, but is also the direction I had to manoeuvre to pull the cable through, since you get a bit more space the more you go higher. Don’t apply to much force, because you’re working near the airbags!
After I was able to pull the ferrite bead through, the rest was a piece of cake. It’s quite easy to push the cable behind the ceiling covering and guide ti to its final destination.
To get the cable into the fusebox, there’s a small opening between the pastic you can route the cable through.
For connecting the power cables into the fusebox I bought a set of MICRO2 adapters (available at Viofo). These hold the correct fuse size used in the Kia EV6.
Connecting these was also a challenge, since the connector is to big to correctly insert into the fusebox. Some filing was involved to remove the excess plastic on the connectors (remove some plastic on the front and back of the connector).
This results in the following fusebox view;
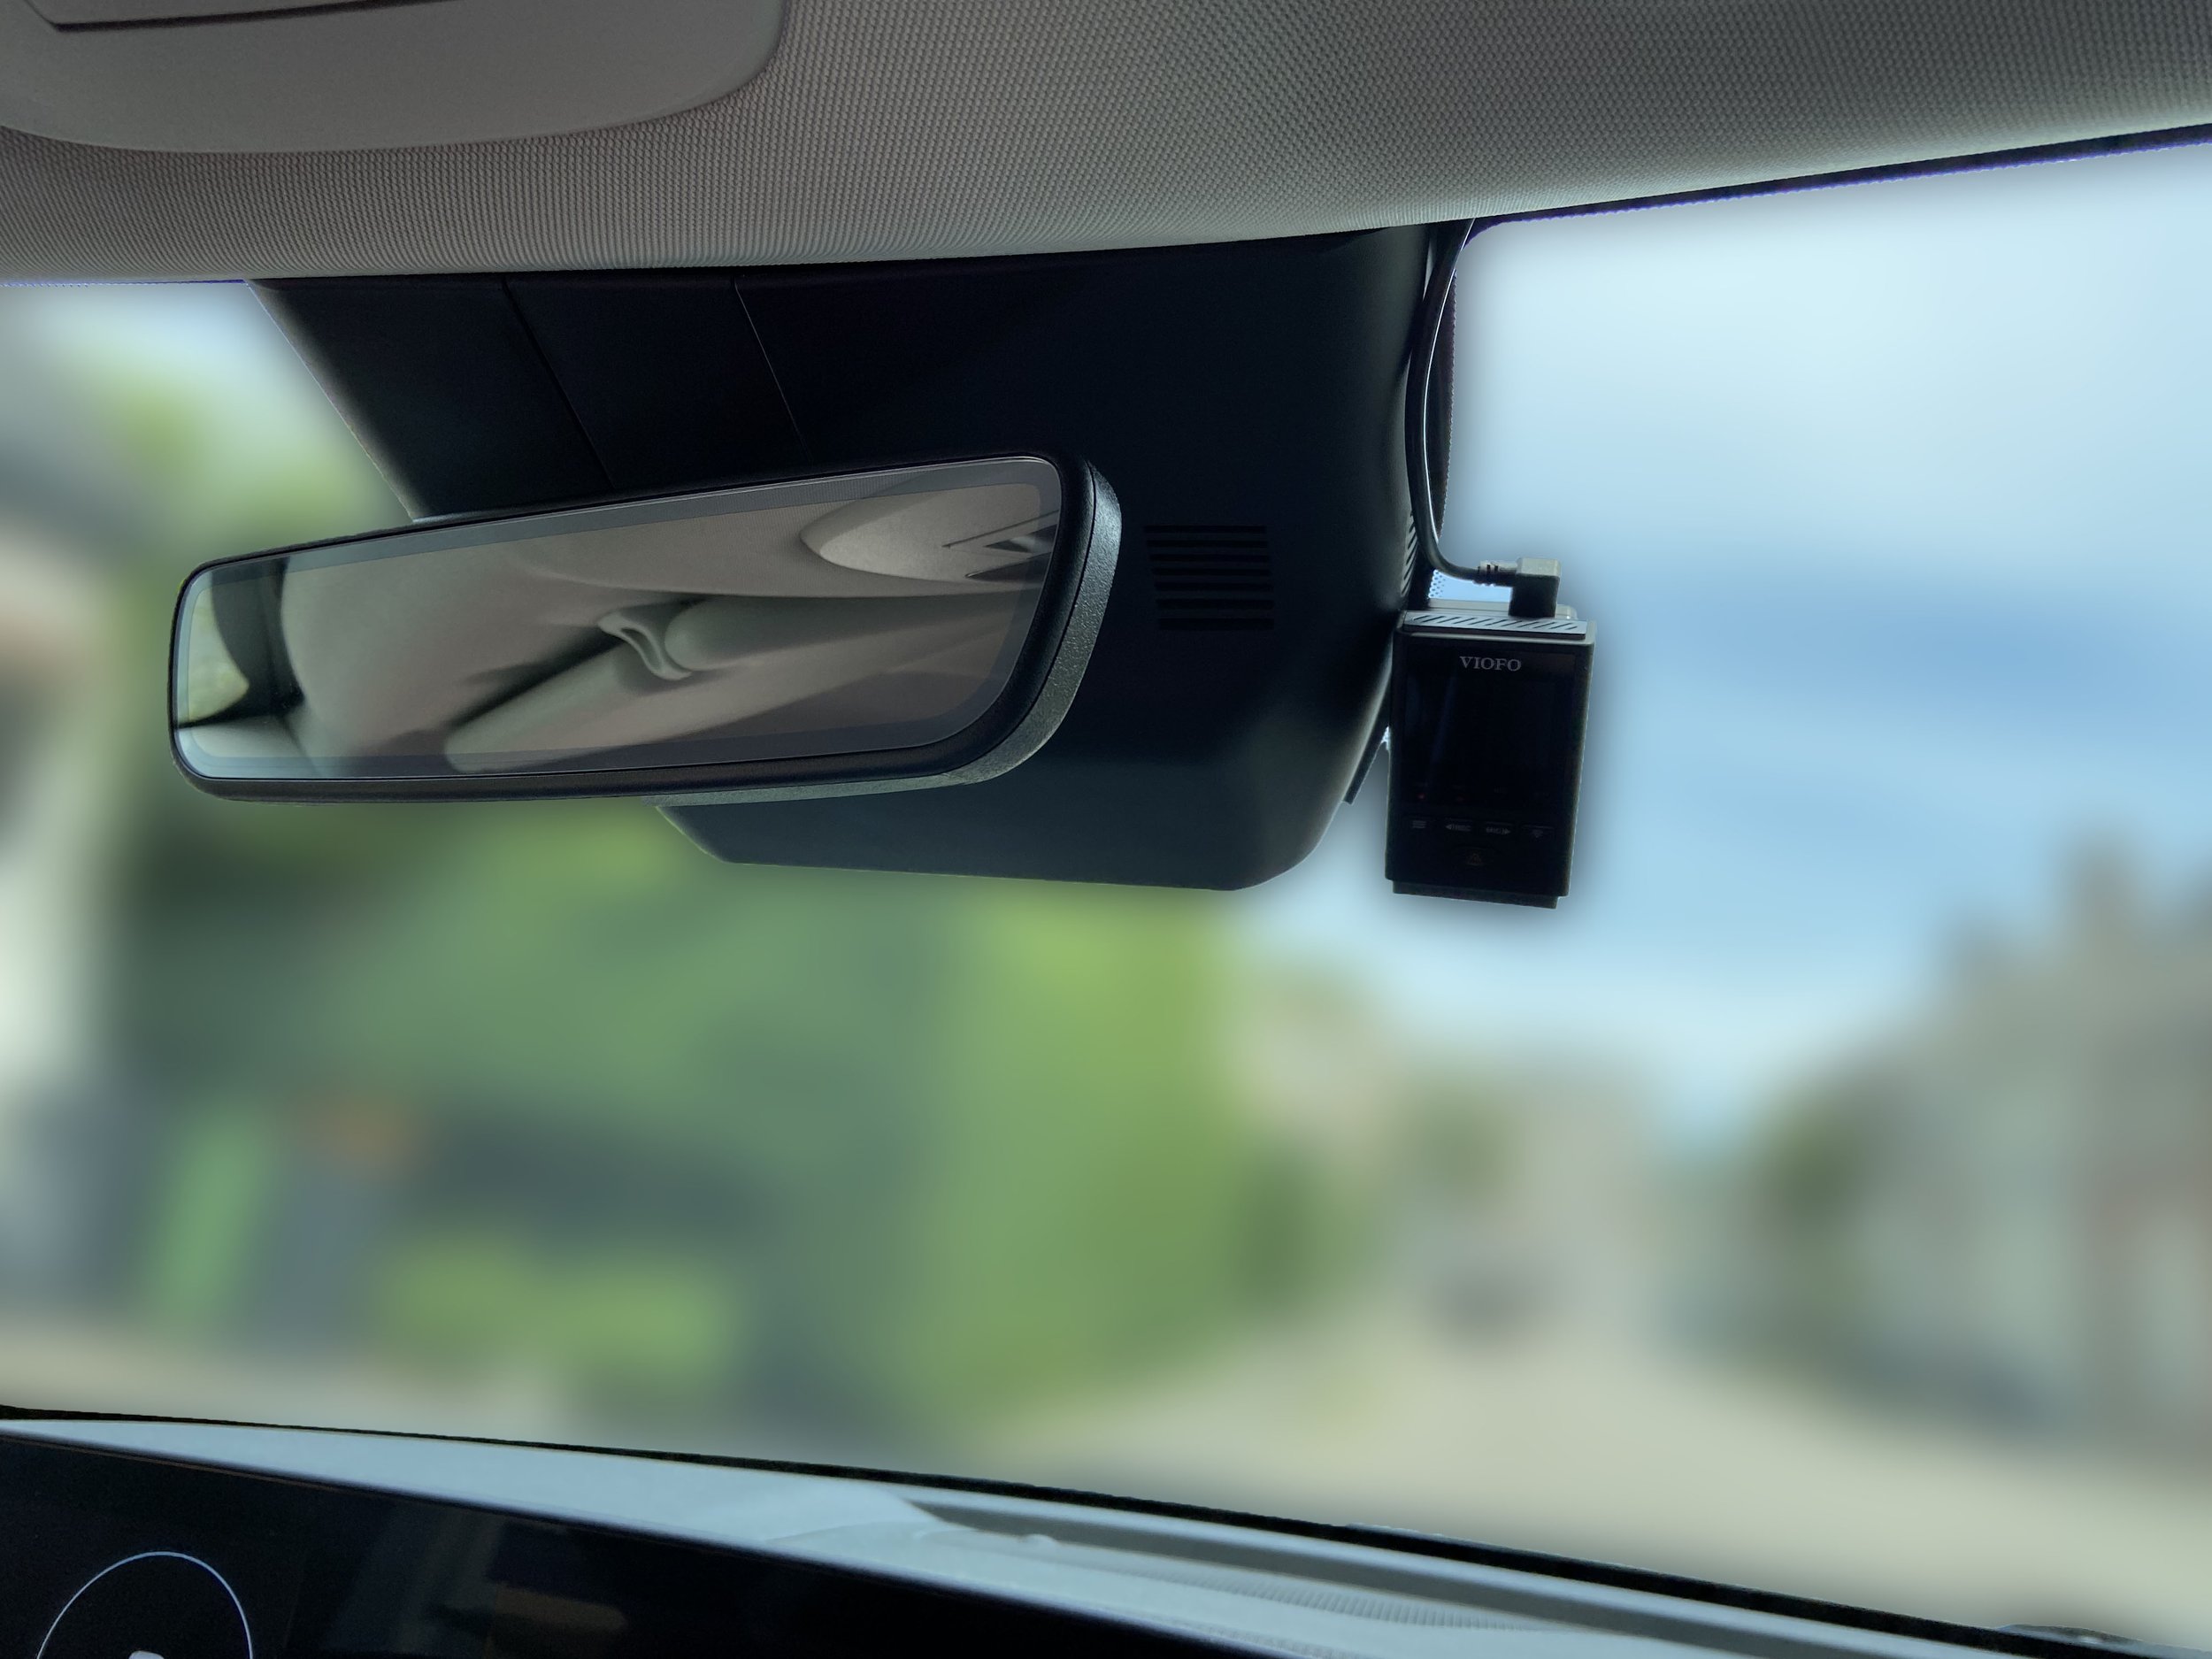
The final result:


