For some reason both Windows and macOS lack an easy method in wiping (old) hard disks (the ones with those spinning platters). So I had to do it on my headless Ubuntu server.
Before I forget; use the information below at your own risk. Wiping the data of the disk is pretty definite.
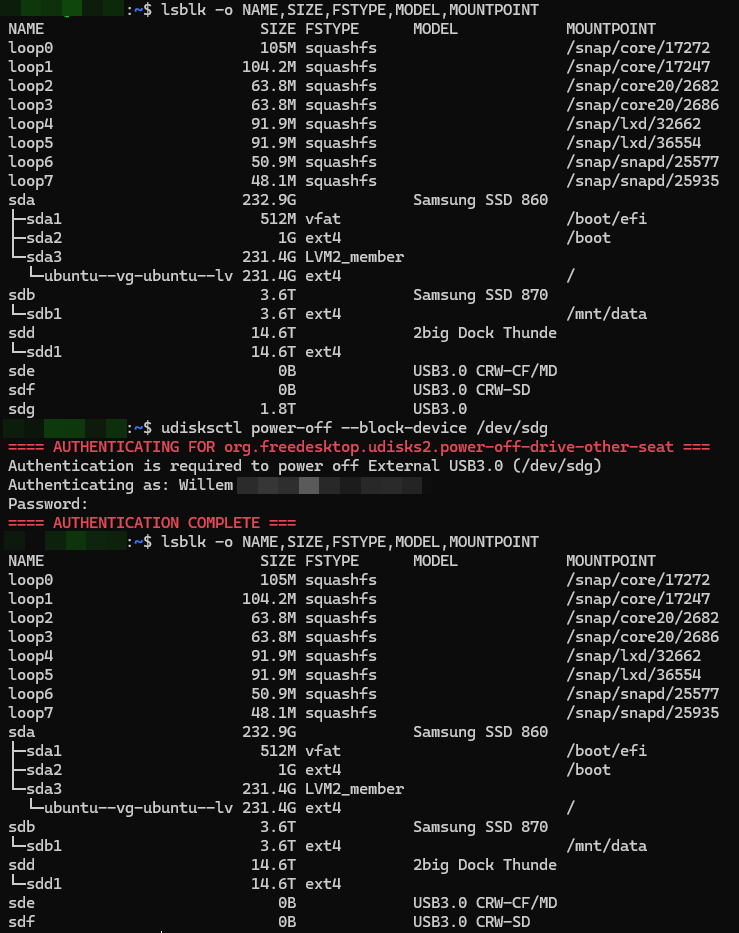
The disks I wanted to whipe were put in a cradle which identified itself as /dev/sdg. The steps I followed were;
Identify the correct drive by issueing the following command. This is the most important step, because selecting the wrong disk may cause significant data loss;
> lsblk -o NAME,SIZE,FSTYPE,MODEL,MOUNTPOINTWipe the current filesystem / partition table;
> sudo wipefs -a /dev/sdgOverwrite the complete disk with random data and a final pass with zero’s;
> sudo shred -v -n 1 -z /dev/sdgRemove the wiped disk safely;
> udisksctl power-off --block-device /dev/sdg
After step 4, the drive can be removed and a new drive can be inserted and the process repeated.